Last updated November 18, 2026
Free written scope consultation - allowances, timeline, and change-order rules on paper before a single trade is scheduled
Driveway & Pavers Troubleshooting in Spring Valley: Common Problems and How to Fix Them
If your pavers are rocking but not sinking, the problem isn’t the pavers or the base – it’s almost always the edge restraint that was spiked into caliche instead of compacted aggregate, and it’s a one-afternoon fix. That single observation runs against the usual advice, which sends homeowners straight to a full tear-out whenever something shifts. In our experience walking Spring Valley driveways, most surface failures trace back to three installation shortcuts: shallow excavation into caliche, wrong polymeric sand activation, and missing or undersized edge restraints. This guide teaches you to read the symptom, name the root cause, and prescribe the least-invasive repair – so you spend an afternoon, not a season’s savings.
Quick Answer
Most driveway paver problems in Spring Valley are fixable without replacing the whole installation: rocking pavers usually need edge restraint and re-bedding, loose joint sand points to UV and thermal breakdown of the polymeric sand, and white hazing is efflorescence from moisture wicking through the slab. Spot repairs work when the failure is local and the base under the field pavers is still tight. Full section removal is the honest answer only when the caliche layer itself was never excavated, when settling spans more than a few pavers in a widening pattern, or when water has been pumping fines out from under the base for seasons. Diagnose before you demo, and you’ll fix the right thing.
Styles & brands we work with
- Kitchen remodeling
- Bathroom remodeling
- Home additions & ADU
- Roofing
- Windows & doors
- Driveway & pavers
- Fence
Table of Contents
- How to Diagnose Paver Problems in Spring Valley
- Why Pavers Rock and Shift: The Edge Restraint Problem
- Differential Settling: Caliche Blow-Out vs. Water Intrusion vs. Tree Roots
- Why Polymeric Sand Fails Faster in Spring Valley
- Efflorescence on Concrete Pavers in a Desert Climate
- The Rocking Paver Repair Sequence, Step by Step
- Spot Repair vs. Full Section Removal: How to Decide
- Choosing Materials That Hold Up in Spring Valley
How to Diagnose Paver Problems in Spring Valley
Diagnosis starts with a walk, not a shovel. Spring Valley sits on caliche – a cemented calcium carbonate layer that behaves like soft rock when dry and turns greasy when wet. Nearly every paver failure we’re called about begins with how a contractor handled that layer during excavation. Was it removed to the proper depth and replaced with compacted aggregate base, or was it left in place and treated as if it were base? That question answers most of what you’re about to see at the surface.
Walk your driveway barefoot or in thin soles and note three things: which pavers move underfoot, whether the movement is isolated or in a line, and whether joints between pavers look wider or sand-starved in specific zones. Then check the edges. Rubber mallet taps across the surface reveal hollow spots – the “dead” sound where a paver has lost contact with its bedding layer underneath.
Here’s a diagnostic table we use to read surface symptoms:
- Pavers rock but don’t sink: edge restraint failure. The perimeter is losing lock and the field is spreading.
- Pavers sink in one localized bowl: base void under that spot, often a caliche pocket that was never excavated and the aggregate simply bridged over it.
- Pavers sink in a widening fan from one point: water intrusion pumping fines out of the base. Look uphill for the source.
- Pavers heave upward in a line: tree root pressure from a nearby ficus, mesquite, or elm – roots in desert soil travel farther than most homeowners expect.
- White haze on the surface: efflorescence, moisture wicking through the paver and evaporating at the surface.
- Joints washing out after rain: polymeric sand that was never properly activated or has UV-degraded past its service life.
The order matters. Fix the cause (water, roots, base) before you fix the surface, or the repair reverts within a season. If you decide the work is beyond what you want to handle, our driveway & pavers service covers everything from edge repair to full re-installation with Belgard, Unilock, Tremron, Techo-Bloc, and Cambridge Pavers systems that carry documented load, fade, and freeze-thaw ratings.
Why Pavers Rock and Shift: The Edge Restraint Problem
Rocking pavers are almost never a paver defect. Interlocking pavers are designed to behave as a single rigid surface held in compression – each unit pressing against its neighbor, the whole field locked by the perimeter. Remove the perimeter lock and the field spreads. Once it spreads, every paver in the affected zone loses bedding contact and starts to rock.
The reason this failure is so common in Spring Valley comes down to installation shortcuts. When the edge restraint channel is spiked directly into caliche instead of a properly compacted aggregate base, the spikes can’t hold. Caliche cracks and crumbles under freeze-thaw cycles and monsoon moisture, and the restraint lifts, tips, or drifts outward. From the surface it looks like the pavers failed. Underneath, the pavers are fine – they just lost their frame.
How to confirm edge restraint failure
- Stand at the driveway edge and press down firmly on the border pavers.
- Look for a visible gap between the restraint and the paver edge – anything wider than a credit card is suspect.
- Check whether the restraint is spiked or glued. Spikes set into caliche are the classic failure mode.
- Tap the field pavers closest to that edge. If rocking is heaviest at the perimeter and lighter as you move inward, the restraint is the cause.
The fix
The honest repair means removing the perimeter pavers, cutting back to competent soil, and rebuilding the edge properly: excavate to a compacted aggregate base, reset the restraint, spike into compacted material (not raw caliche), re-bed the border pavers, re-sand the joints, and re-compact. From the surface it looks like the pavers failed. Underneath, the pavers are fine – they just lost their frame.
How to confirm edge restraint failure
- Stand at the driveway edge and press down firmly on the border pavers.
- Look for a visible gap between the restraint and the paver edge – anything wider than a credit card is suspect.
- Check whether the restraint is spiked or glued. Spikes set into caliche are the classic failure mode.
- Tap the field pavers closest to that edge. If rocking is heaviest at the perimeter and lighter as you move inward, the restraint is the cause.
The fix
The honest repair means removing the perimeter pavers, cutting back to competent soil, and rebuilding the edge properly: excavate to a compacted aggregate base, reset the restraint, spike into compacted material (not raw caliche), re-bed the border pavers, re-sand the joints, and re-compact. From the surface it looks like the pavers failed. Underneath, the pavers are fine – they just lost their frame.
How to confirm edge restraint failure
- Stand at the driveway edge and press down firmly on the border pavers.
- Look for a visible gap between the restraint and the paver edge – anything wider than a credit card is suspect.
- Check whether the perimeter pavers are rocking. If the field is tight but the edge is loose, the restraint is the cause.
When the perimeter moves, the fix is to pull the border pavers, expose the restraint, and rebuild the base under it with compacted aggregate. Then re-set the restraint, spike it into the compacted material, re-bed the pavers, re-sand, and re-compact the whole perimeter. It’s an afternoon job on a standard residential driveway and it reverses the problem without touching the field pavers.
Differential Settling: Caliche Blow-Out vs. Water Intrusion vs. Tree Roots
Not all settling is the same failure, and the pattern tells you which one you have. Caliche blow-out is a base failure – the layer under the pavers was too thin, too wet, or never excavated to begin with, and it crushes under load. Water intrusion is a drainage failure – water gets under the pavers, saturates the base, and pumps fines out. Tree root pressure is a heave – roots lift the pavers from below.
Reading the pattern
- Caliche blow-out: settling is sharp and localized, bowl-shaped, and often shows up first where vehicles turn or brake. The paver edges tilt toward the depression.
- Water intrusion: settling fans out from a low point or from the downhill side of the driveway. Look for staining and mud pumping along the joints after a storm.
- Tree root pressure: lifting is linear, following root paths, and often appears near the driveway edge closest to the tree. Pavers tilt away from the tree, not toward a low point.
How to know you have caliche blow-out specifically
Pull one paver from the center of the depression with a vacuum-lift or by hand. If the bedding sand is thin and the base beneath it is a hard, pale, cemented crust with cracked plates, that’s caliche. If the bedding sand is thick and muddy, or the base is loose and wet, you’re looking at water intrusion instead. Both need a repair, but only the caliche repair requires excavation to depth and replacement aggregate.
When settling means tree roots
Ficus, mesquite, and elm roots run far in desert soils because they’re searching for water. A tree 15 or 20 feet from the driveway can lift pavers along the edge. Pruning the roots is a temporary fix at best. If the lift is significant, the honest answer is often a root barrier installed along the driveway edge during the rebuild – which keeps the tree and the driveway that way. Homeowners in Spring Valley who want to be smart about root zones often pair this with our fence installation work, since the same excavation crew can install the barrier while they’re set up.
Why Polymeric Sand Fails Faster in Spring Valley
Polymeric sand failures happen everywhere, but they happen faster in the Las Vegas Valley than most paver installers in wetter climates anticipate. Two reasons. First, UV. This is one of the most UV-intense environments in the country; a polymeric sand that would last a decade in a coastal climate starts breaking down noticeably faster here. Second, thermal cycling. Spring Valley sees extreme day-night temperature swings, and that repeated expansion and contraction opens joints that were never fully cured to spec.
The most common reason polymeric sand fails in the first year comes down to activation – or a lack of it. Polymeric sand is a mix of fine sand and polymer binders that is activated when water hits it. If the water doesn’t reach a critical moisture depth – typically because someone sprayed gently from a distance – the polymer never fully cures through the joint. A fully activated joint cures to a slightly firm, rubbery finish. An under-activated joint stays loose and washes out in the first rain.
Signs the polymeric sand was under-activated
- Joints remain loose or powdery weeks after installation
- Sand washing out from the middle of the joint, not just the top edge
- Noticeable sand loss in a specific zone while other joints stay firm
- Visible drying lines down the center of the joint
Which replacement products hold longer in Spring Valley
We’ve had the best long-term results in this climate with two categories. First, high-solids polymeric sands formulated with UV-stable binders – the category’s leaders have updated their chemistry specifically for high-UV environments in recent years. Second, dual-sand systems where a fine sand base goes in first, followed by a polymer-rich top coat, which minimizes polymer loss from UV exposure at the surface. Techniseal and Surebond both make products aimed at the high-UV market. Whichever product you choose, application requires a wetting protocol – typically two passes with controlled misting followed by a saturating pass – and a two-to-three day cure window with no vehicle traffic. Get the activation right and the joint stays tight for years.
Efflorescence on Concrete Pavers in a Desert Climate
Efflorescence in Spring Valley is a white, chalky haze that appears on the surface of concrete pavers – sometimes weeks after installation, sometimes years later. It’s caused by salts migrating to the surface as moisture evaporates from the paver. The salts are inside the concrete itself, and moisture carries them out. It’s not mold, it’s not a stain, and it’s not a defect in the paver – it’s a moisture-transport phenomenon.
What causes the white haze here specifically
In a desert climate, the trigger is almost always a moisture source that shouldn’t be there. Three common causes:
- Irrigation overspray. Sprinkler heads that hit the driveway repeatedly load the pavers with water. The single most common cause we see.
- Drainage running across the pavers. Roof downspouts or uphill runoff crossing the driveway instead of being routed away.
- Fresh installs curing in cool, humid conditions. If pavers were installed during a cooler stretch and then heated up quickly, the curing moisture pushes salts to the surface.
How to treat efflorescence
First, identify and stop the moisture source. Without that step any treatment will recur. Second, clean with a product formulated for efflorescence removal – never a straight acid wash, which can drive salts deeper into pores rather than out. Third, if the haze keeps returning, seal. Two sealer chemistries work well in desert climates when applied correctly:
- Penetrating sealers: soak into the paver and inhibit moisture transport without forming a surface film. These are the safer choice in high-UV climates because they don’t trap moisture under a coating that UV will eventually break down.
- Film-forming acrylics: form a glossy surface coating. They look sharper, but in Spring Valley’s UV intensity, most acrylic films degrade within a few seasons and can yellow. Go with a UV-stabilized acrylic if you choose this route, and expect to strip and reapply on a regular schedule.
Techniseal and Surebond both make sealers formulated for high-UV, high-heat climates. The right sealer suppresses the haze without trapping moisture behind a film, so the paver can breathe. Choose your material, trust our installation – the sealer matters less than whether moisture is being controlled upstream, but the right product extends the clean look significantly.
The Rocking Paver Repair Sequence, Step by Step
Spot-repairing rocking pavers is a real repair when the failure is local. The key is sequence – do the steps out of order and the repair reverts within a season. Here’s the sequence we use:
- Isolate the affected zone. Mark the pavers that rock with a chalk line or painter’s tape. Add a perimeter of one paver on each side – the neighbors of a rocking paver typically have compromised bedding too.
- Grade the area to a single flat plane. Before removal, sight along the surface to note where the pavers should sit. Set a string line across the repair zone as a reference.
- Remove the pavers carefully. Use a vacuum lift or hand suction cups to avoid chipping. Stack the pavers to the side, keeping them in the order they came out.
- Clean the base. Remove old bedding sand and inspect the base under the removed pavers. Compacted aggregate is workable; caliche that crumbled is not – that section comes out.
- Re-bed with fresh bedding sand. A thin layer of coarse bedding sand, screeded flat to grade, is the correct bedding for reinstalling. Do not use polymeric sand as the bedding layer.
- Reset pavers to the string line. Tamp each paver into the bedding with a rubber mallet. Set them to a level slightly above the surrounding pavers so the whole field compacts uniformly.
- Compact the field. Plate compactor with a rubber pad – one pass over the repair zone and a light overlap of surrounding pavers to re-seat the joints.
- Re-sand the joints with polymeric sand. Sweep the sand into the joints completely, blow off the surface, then activate with the wetting protocol the product specifies.
- Cure without vehicle traffic. Two to three days on typical polymeric sand. Don’t drive on it during the cure.
The single step most homeowners skip is compaction. Re-bedding without a plate compactor leaves the paver rocking again within weeks. If you don’t rent a compactor, don’t do a paver repair at all – the plate compactor is the difference between a repair that holds and one that doesn’t.
Compaction and bedding are not optional
We’ve rebuilt enough of these to know the honest answer. The pavers themselves rarely fail. The layer under them does. Any repair that re-sets pavers into un-compacted bedding is a delay, not a fix.
Spot Repair vs. Full Section Removal: How to Decide
This is the question every homeowner asks, and the honest answer sits in the inspection. Four criteria decide it:
- Extent of the affected zone. A bowl of three to ten affected pavers is a spot repair. A bowl that has expanded over a series of seasons, or that spans more than 20% of the driveway’s total area, is telling you the base installation is failing across the whole job.
- Base condition under the field. Pull one paver from each settling zone. Compact aggregate = spot repair. Raw caliche, mud, or loose fines = full section removal to install a proper base.
- Edge restraint integrity. Restraint sound, moving pavers isolated in the field = repair. Restraint compromised over more than a short stretch = rebuild the entire perimeter before the field degrades further.
- Water source. If drainage is causing the failure, no amount of repair will hold until the source is fixed. If the source is fixed and the affected zone is local, repair. If the source is chronic and the base is already spent, full replacement is the honest answer.
When a spot repair is a band-aid
We’re direct about this. A spot repair on a driveway where caliche was never properly excavated is a delay, not a fix. It will hold for one or two seasons and then fail in the same zone or a neighboring one. If you’re on the fence about the honest answer, the rule we use is: if more than one paver from the field pulls up to reveal raw caliche under thin bedding, the installation itself was shortcut and spot repair is the wrong path.
When a full section removal is warranted
- Base is raw caliche, mud, or loose fines in the affected zone
- Restraint has failed continuously along the perimeter
- Water intrusion is chronic and the base has been saturated for a full season or more
- Tree root pressure is significant and a root barrier is needed
- Settling has recurred in the same location after one prior repair
Full section removal sounds worse than it is. The reason it’s the honest answer isn’t the pavers – it’s that the base is the real failure. The pavers often go right back down on the new base. For Spring Valley homeowners planning other exterior work during the same excavation, our home additions & ADU team can coordinate and see the whole site at once – one contractor, every scope.
Choosing Materials That Hold Up in Spring Valley
Material choice matters less than installation quality, but it does matter. The right paver, bedding, and edge restraint combination in a desert climate is not the same as the combination in wetter regions of the country.
Pavers
Every major paver brand publishes freeze-thaw ratings and load ratings – read them and ask for them. Belgard, Unilock, Tremron, Techo-Bloc, and Cambridge Pavers all produce concrete pavers rated for hard freeze-thaw and vehicular load in desert climates. Standard gray concrete pavers hold up well; thin-set pavers (under 2 3/8″ thick) don’t belong on a residential driveway regardless of brand.
Polymeric sand
Choose a UV-stabilized polymeric sand (Techniseal and Surebond both make cures formulated for high-UV markets), and do the wetting protocol per the product’s instructions. Two light passes followed by a saturating pass, then a multi-day cure with no vehicle traffic.
Edge restraint
Aluminum edge restraint spiked into compacted aggregate is the correct edge for Spring Valley. Plastic edge restraint spiked into raw caliche is the shortcut that causes most of the rocking we see. If you’re installing new, insist on the aluminum and the proper excavation depth. If you’re repairing, that’s the same choice – the restraint is the frame the whole field hangs on.
Sealer (optional but climate-appropriate)
UV-stabilized penetrating sealers are the right choice for Spring Valley. Film-forming acrylics look sharp but degrade in this UV environment and can trap moisture. See the efflorescence section above for the tradeoffs.
For readers who want to see the full brand range – from the premium hardscape lines through the practical tiers like Quikrete and Sakrete where budget matters – our Construction Spring Valley overview walks through the full catalog we install from, one contractor, every scope, from the driveway to the roofline.
Common Mistakes to Avoid
- Treating caliche as if it were base. Caliche is not a base material – it’s a cemented layer that crumbles and holds moisture. Any paver install or repair that leaves caliche in the base will fail within a few seasons in Spring Valley.
- Skipping the plate compactor. Re-bedding without compaction feels solid for a few weeks and then rocks again. Compaction is the step, not the extra.
- Spiking edge restraint into raw caliche. The single most common cause of perimeter rocking here. Spike into compacted aggregate, not the caliche layer underneath.
- Spraying polymeric sand gently and calling it activated. Under-activation is why sand washes out in the first monsoon. Follow the wetting protocol with a controlled misting pass and a full saturating pass.
- Sealing over efflorescence without finding the moisture source. A sealer that traps moisture under a film can make efflorescence worse. Find and stop the source, clean, then seal.
- Choosing a sealer with no UV stabilization. Spring Valley’s UV load is aggressive. UV-stabilized penetrating sealers hold up; standard acrylics yellow and peel within a few seasons.
- Assuming the pavers themselves failed. In the vast majority of cases, the pavers are fine. The base, the restraint, or the drainage caused the problem. Diagnose before buying replacement pavers.
See the difference
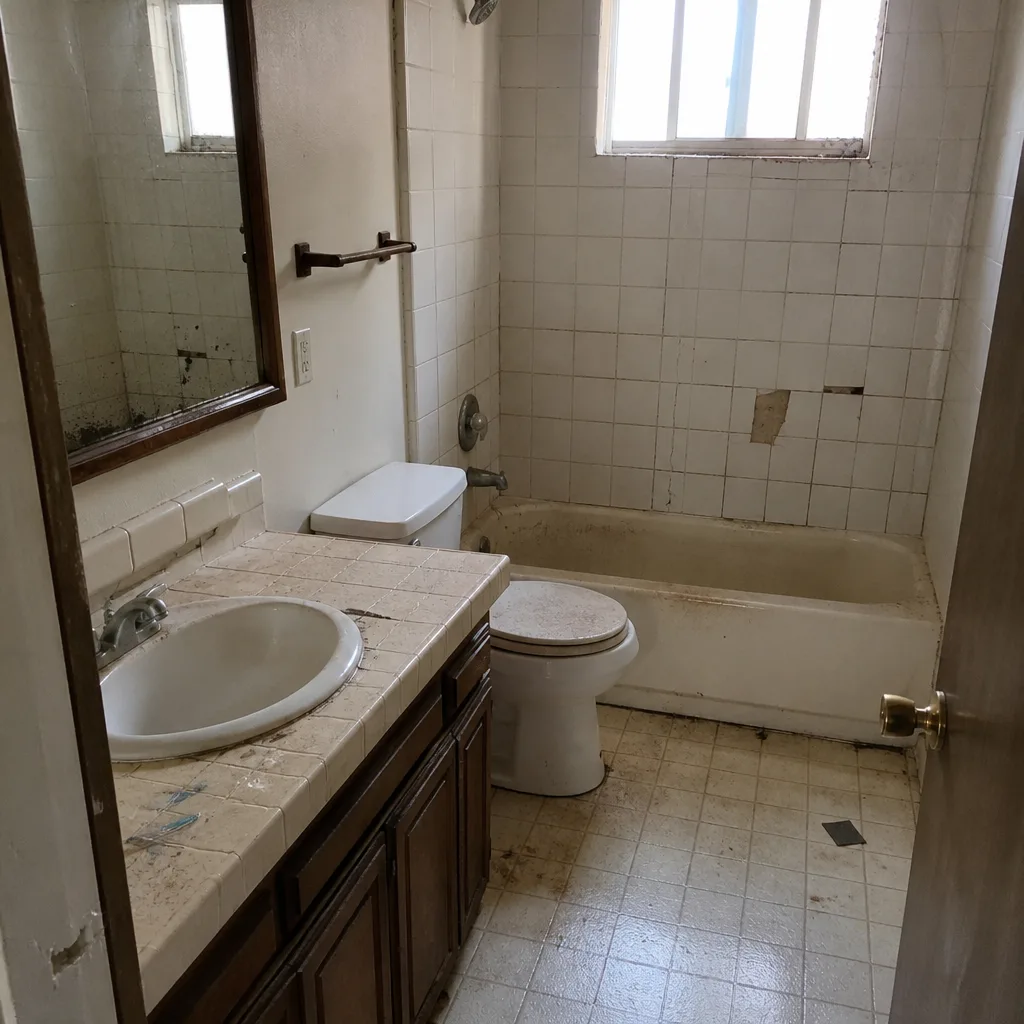 Before
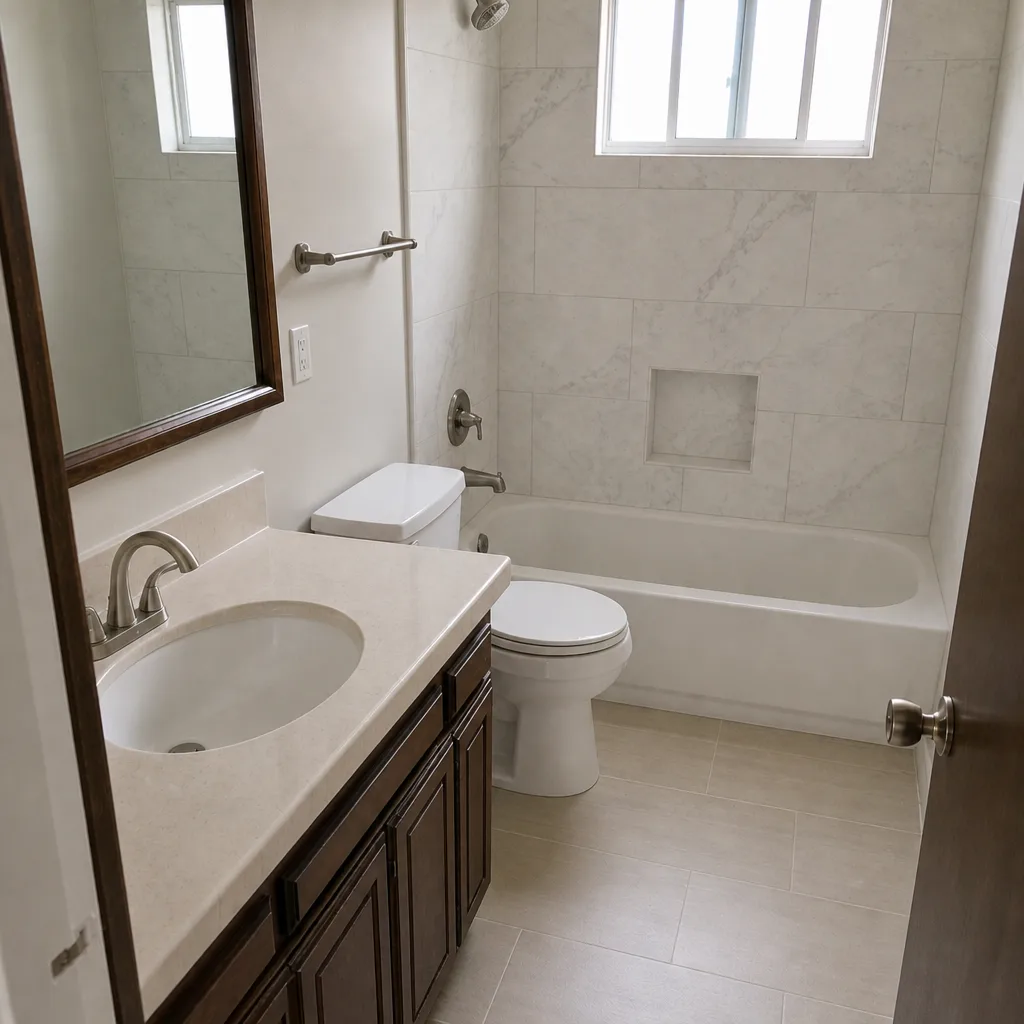 After
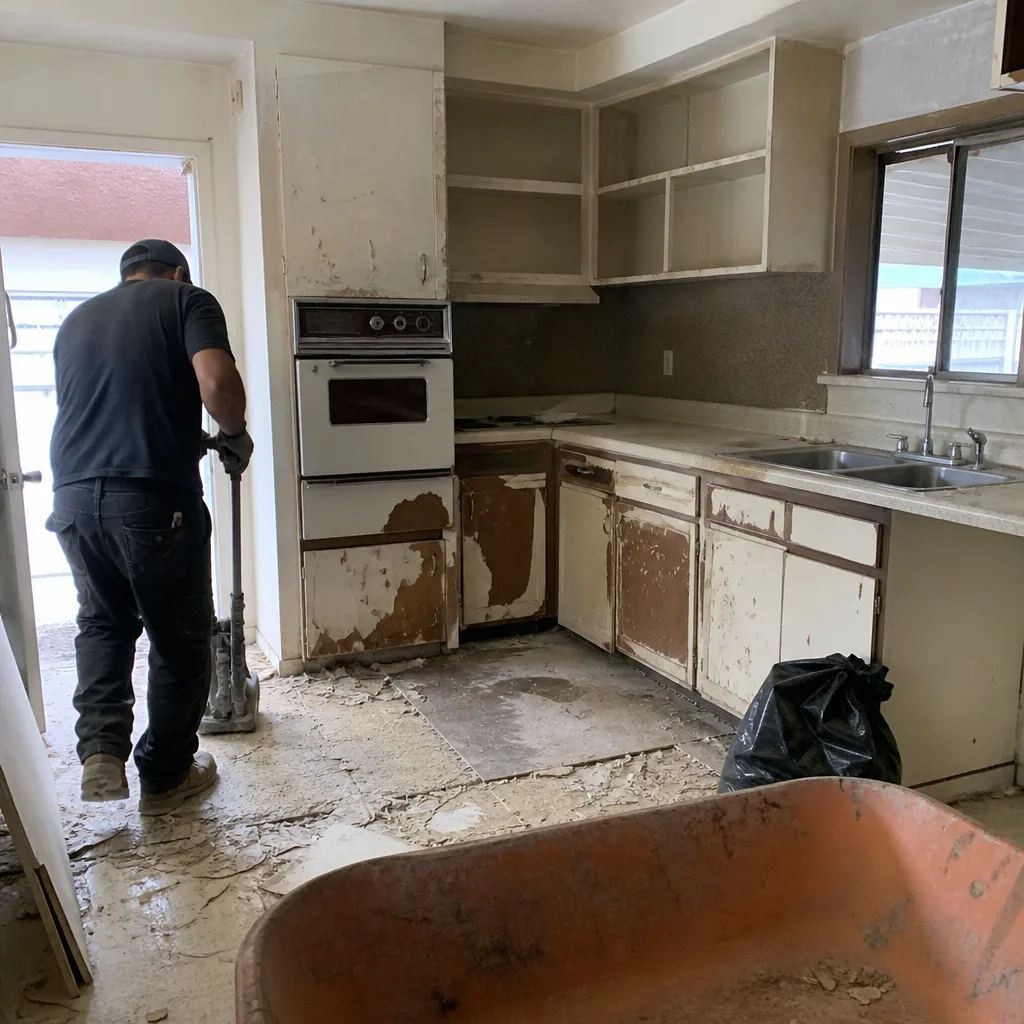 Before
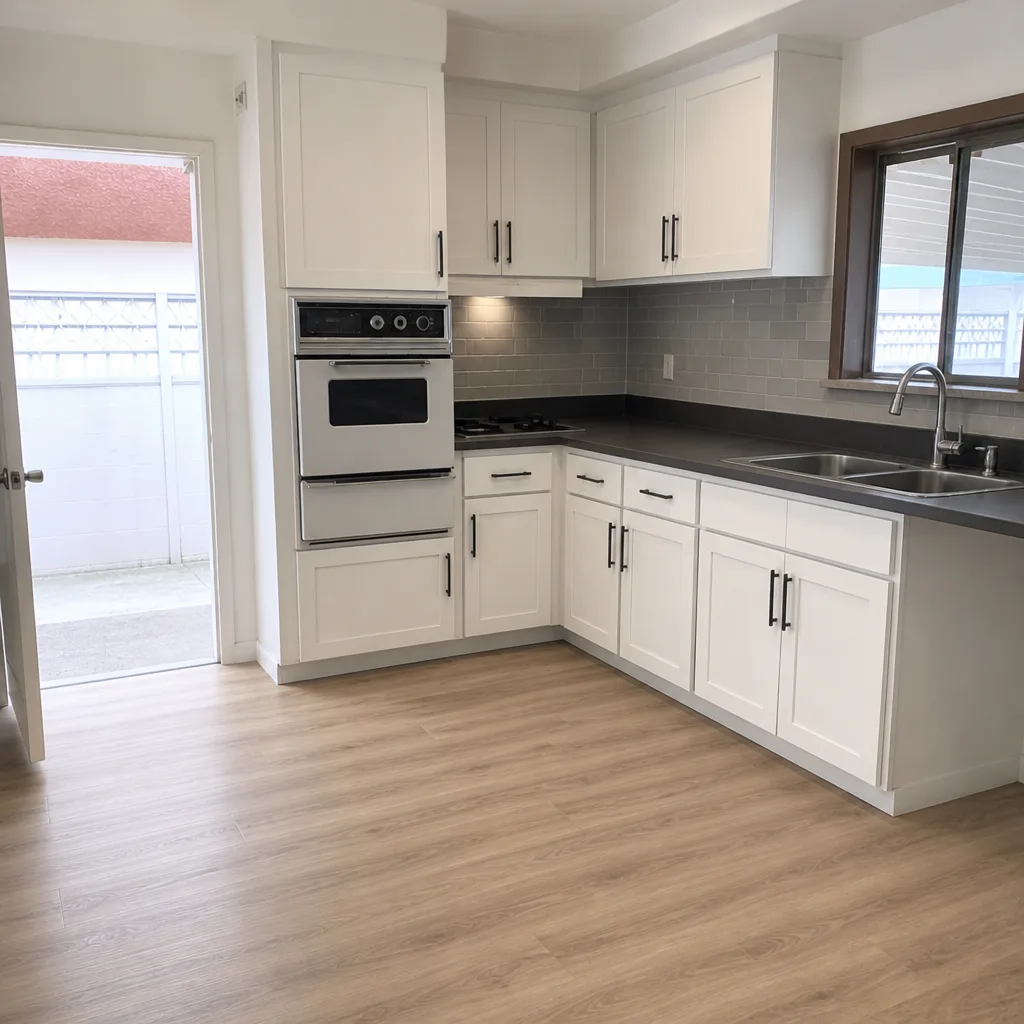 After
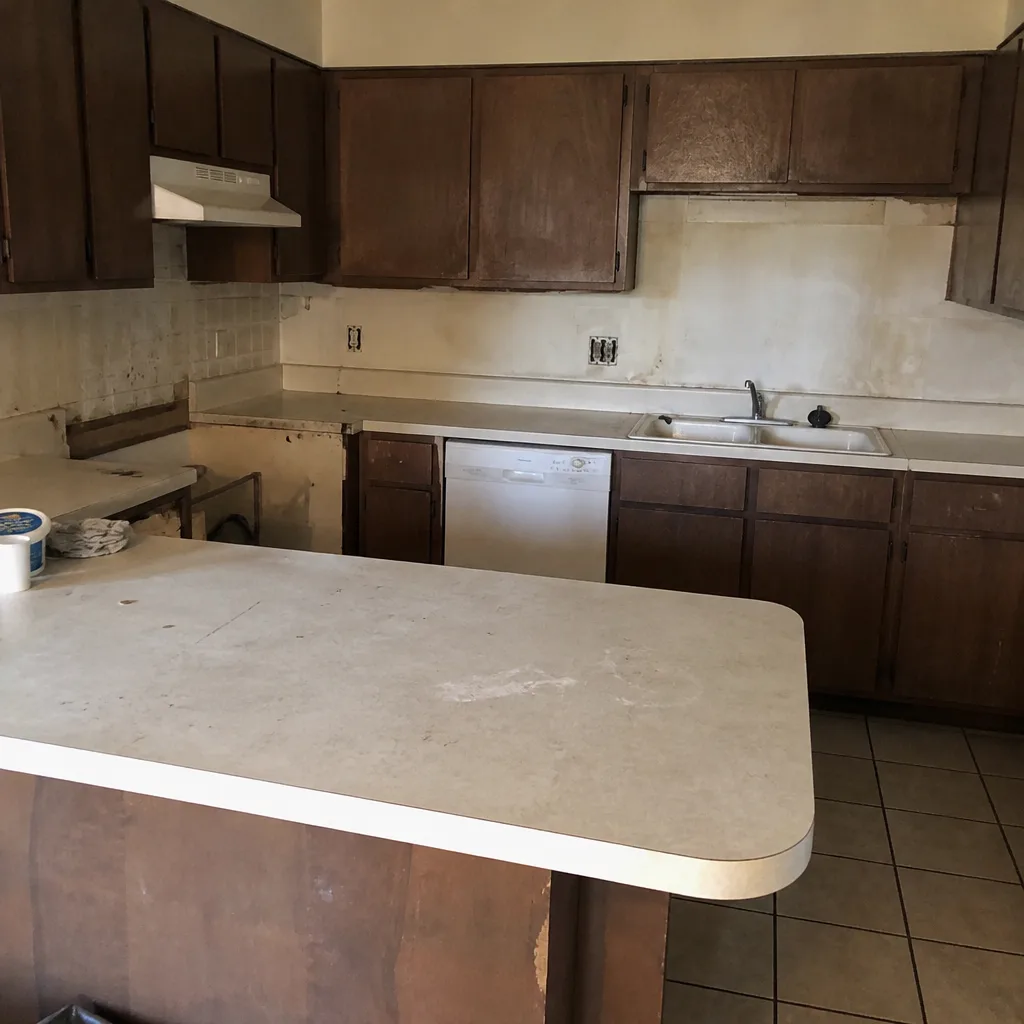 Before
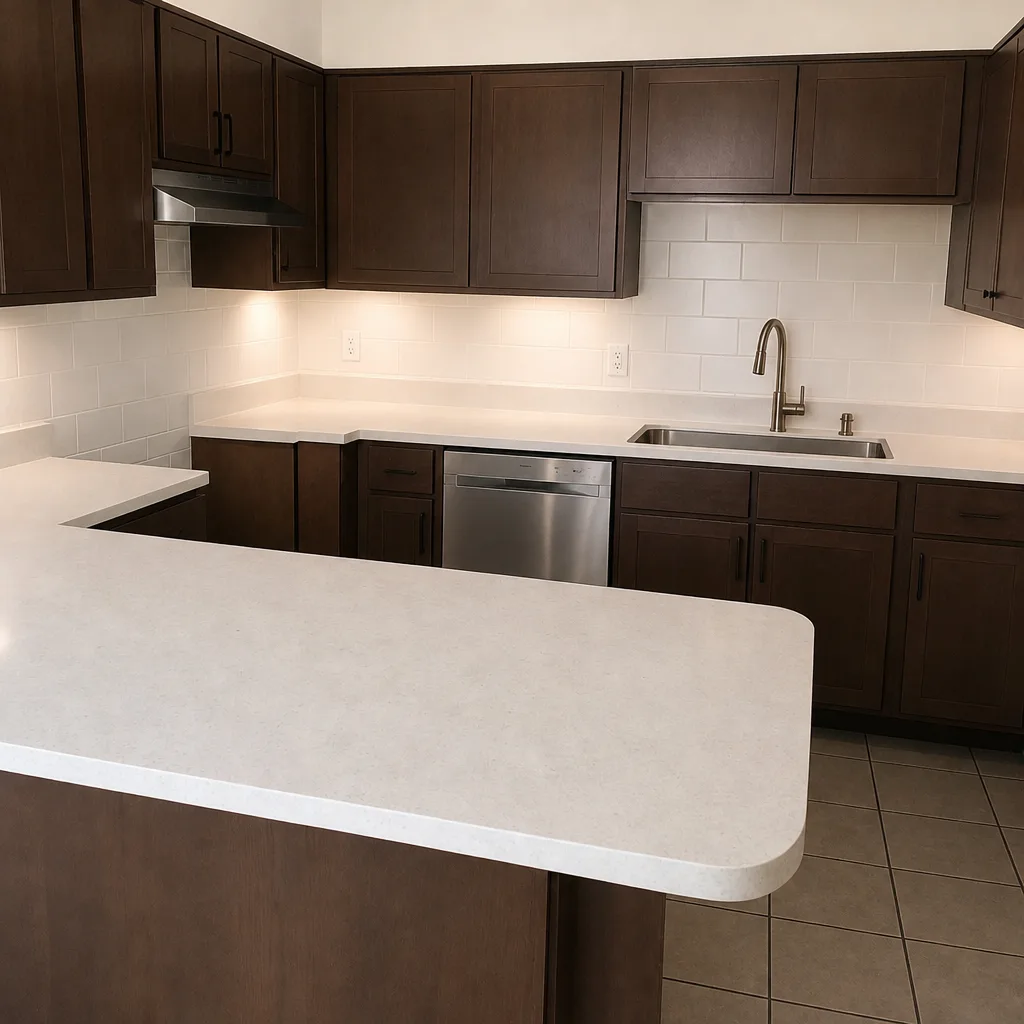 After
When to Call a Professional
Call a professional when the diagnosis points at the base, not the surface. If you’ve pulled up pavers and found raw caliche, mud, or loose fines under the bedding, that’s an excavation job – no surface repair will hold. Call if the perimeter has failed continuously, if settling has recurred in the same zone after one repair, if tree roots are visibly heaving a section, or if water is pumping fines out from the base after storms. Those four scenarios require the base to be rebuilt, not patched. Also call before spot-repairing more than a few pavers yourself – a compactor and a full set of the right tools make the difference between a holding repair and one that reverts in a season.
Construction Spring Valley offers free estimates in Spring Valley – call (844) 560-4461. We answer 24/7. Fast dispatch from 7am to 7pm, Sunday through Friday. Our technicians have up to 12 years of experience diagnosing base failures, edge restraint problems, and drainage issues on Spring Valley driveways, and our written line-item quotes set the price before any work begins.
Frequently Asked Questions
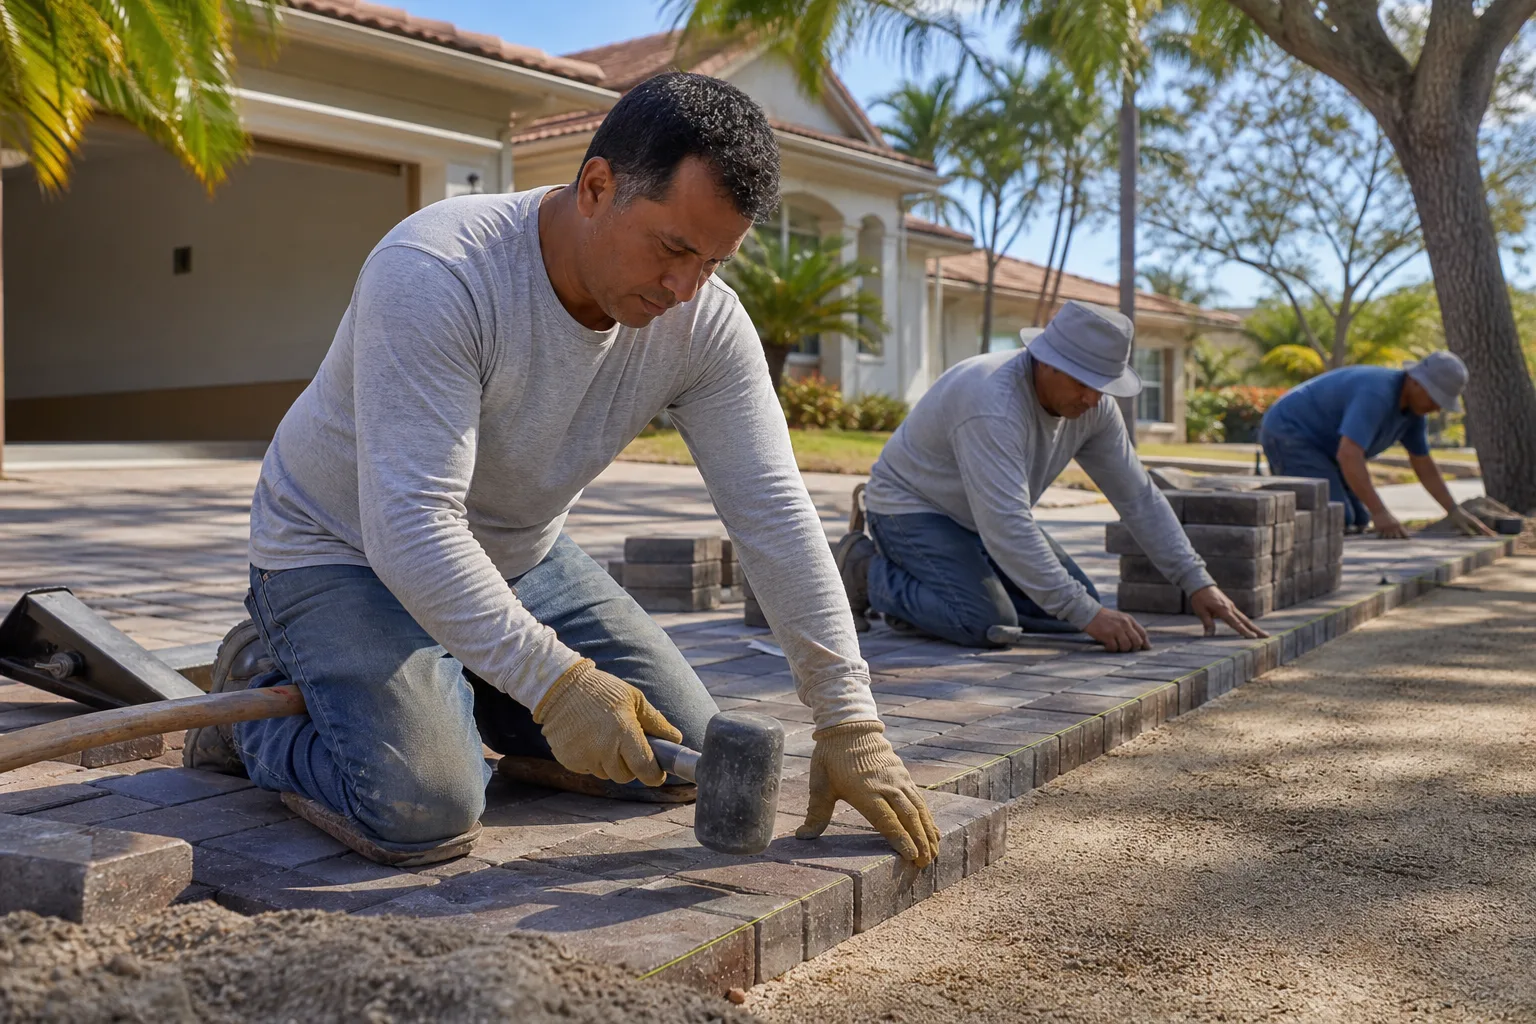
The most common cause is edge restraint failure – the perimeter restraint was spiked into caliche instead of compacted aggregate, so it can’t hold and the field loses its lock. The pavers themselves are almost never the problem. Call (844) 560-4461 for a free estimate to diagnose and repair, from the perimeter inward.
Spot repair is realistic if the affected zone is local, the base under the pavers is compacted aggregate, and you can rent a plate compactor and follow the wetting protocol on the polymeric sand. If any of those three isn’t true – or if you pull up a paver and find caliche or mud – call a professional. The plate compactor is the difference-maker; skip it and the repair reverts in a few weeks. Call (844) 560-4461 for a free estimate on a proper repair.
Pricing depends entirely on whether the base is intact or needs excavation – a perimeter repair or spot re-bedding is far less work than a full section rebuild, because the failure is under the surface, not in the pavers. We provide written line-item estimates that fix the price before work starts, with no change orders, and the estimate is free. Call (844) 560-4461 to schedule yours; the number is different for every driveway because the base condition is unique to each site.
Two reasons: UV degradation and thermal cycling. Spring Valley sees extreme UV intensity and large day-night temperature swings, so the polymer binders in the sand break down faster than they would in a wetter climate. Combined with under-activation at install, joints can wash out within the first year. UV-stabilized polymeric sand with proper wetting protocol holds significantly longer – Techniseal and Surebond both make products aimed at this environment. Call (844) 560-4461 for a free estimate on re-sanding with the right product.
That haze is efflorescence – salts from inside the concrete that migrate to the surface as moisture evaporates. It’s not mold or a stain. Stop the moisture source first (typically irrigation overspray or drainage running across the driveway), clean with an efflorescence-specific cleaner (never a straight acid wash), then apply a UV-stabilized penetrating sealer to suppress recurrence. Call (844) 560-4461 to schedule a free estimate on cleaning and sealing.
Permitting for driveway work depends on your local jurisdiction and whether you’re changing grade, drainage, or the connection to a public right-of-way. It’s worth a call to the city’s building department before any full replacement. Construction Spring Valley pulls permits where they’re required and passes inspection before work is signed off – call (844) 560-4461 for a free estimate that includes permit coordination.
The Bottom Line
Most paver failures in Spring Valley trace back to three installation shortcuts: shallow excavation into caliche, wrong polymeric sand activation, and missing or undersized edge restraints. The pavers themselves rarely fail. Read the surface symptom – rocking at the perimeter, bowl-shaped settling, fan-shaped settling, linear heaving, white haze, joints washing out – and you can name the root cause. Spot repair works when the failure is local and the base is intact. Full section removal is the honest answer when the caliche was never excavated, when settling recurs in the same zone, or when tree roots or chronic water intrusion are in play. Compaction is the step that separates a repair that holds from one that reverts. Choose materials rated for this climate: Belgard, Unilock, Tremron, Techo-Bloc, and Cambridge pavers; UV-stabilized polymeric sand from Techniseal or Surebond; and aluminum edge restraint spiked into compacted aggregate, never raw caliche.
If the diagnosis points to the base, don’t patch it. Call (844) 560-4461 for a free estimate. We answer 24/7. Fast dispatch from 7am to 7pm, Sunday through Friday. From the driveway to the roofline – driveway, fence, ADU, bathroom, windows, roofing, and kitchen, all under one accountable contractor – Construction Spring Valley gives you built-to-spec work with brands you recognize. Your home, your material, our installation. Call today to schedule your free estimate.
Written by the team at Construction Spring Valley.